Einleitung
Halte deinen älteren Mac fit, indem du eine angepasste Version von macOS Ventura installierst.
Wenn du nicht MacOS Ventura auf deinem Mac downloaden kannst, lade es herunter nachdem du OpenCore installiert hast, was hier in Schritt11 erklärt wird.
Ersatzteile
-
-
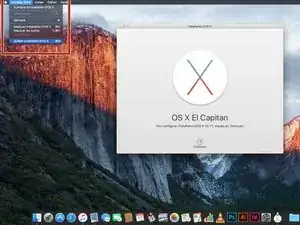
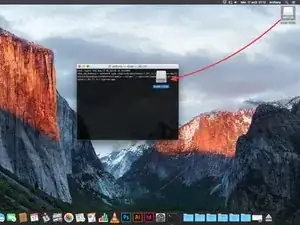
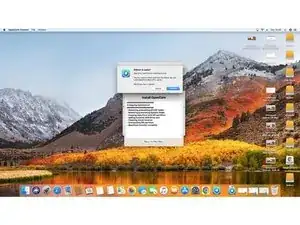
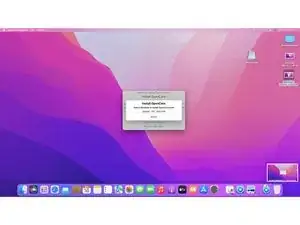
Verlasse nach Beenden des Downloads den App Store. Das Installationsfenster erscheint automatisch.
-
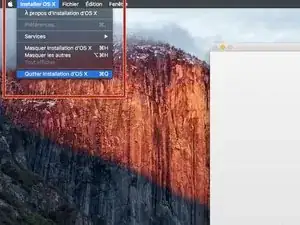
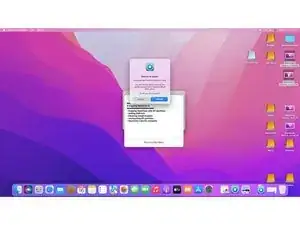
Gehe zu OS X installieren, verlasse dies dann über Installation beenden.
-
-
-
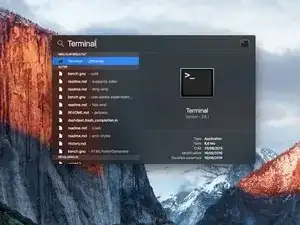
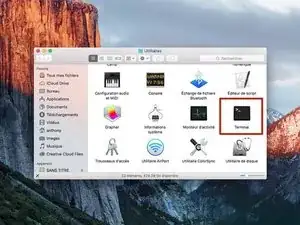
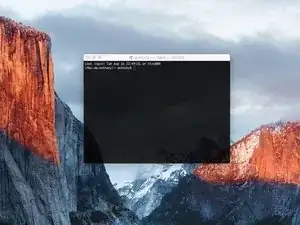
Suche das Terminal entweder über Spotlight oder durch den Aufruf von Dienstprogramme/Terminal.
-
Klicke darauf, um das Terminal zu starten.
-
-
-
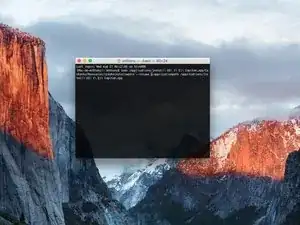
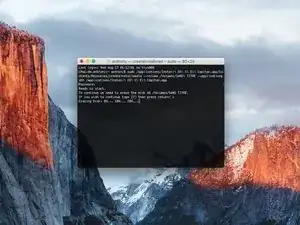
Setze eine der folgenden Zeilen im Terminal ein (der Name des Betriebssystems ist der des Systems, was du auf dem Stick installieren willst, nicht der von dem System deines Mac):
-
Für El Capitan : sudo /Applications/Install\ OS\ X\ El\ Capitan.app/Contents/Resources/createinstallmedia --\ Capitan.app/Contents/Resources/createinstallmedia --volume /Volumes/MyVolume --applicationpath /Applications/Install\ OS\ X\ El\ Capitan.app
-
Für Yosemite : sudo /Applications/Install\ OS\ X\ Yosemite.app/Contents/Resources/createinstallmedia --volume /Volumes/MyVolume --applicationpath /Applications/Install\ OS\ X\ Yosemite.app
-
Für Mavericks : sudo /Applications/Install\ OS\ X\ Mavericks.app/Contents/Resources/createinstallmedia --volume /Volumes/MyVolume --applicationpath /Applications/Install\ OS\ X\ Mavericks.app
-
Für Sierra : sudo /Applications/Install\ macOS\ Sierra.app/Contents/Resources/createinstallmedia --volume /Volumes/MyVolume --applicationpath /Applications/Install\ macOS\ Sierra.app
-
Gehe weiter zum nächsten Schritt.
-
-
-
Für High Sierra : sudo /Applications/Install\ macOS\ High\ Sierra.app/Contents/Resources/createinstallmedia --volume /Volumes/MyVolume --applicationpath /Applications/Install\ macOS\ High\ Sierra.app
-
Für Mojave : sudo /Applications/Install\ macOS\ Mojave.app/Contents/Resources/createinstallmedia --volume /Volumes/MyVolume
-
Für Catalina : sudo /Applications/Install\ macOS\ Catalina.app/Contents/Resources/createinstallmedia --volume /Volumes/MyVolume
-
Für Big Sur : sudo /Applications/Install\ macOS\ Big\ Sur.app/Contents/Resources/createinstallmedia --volume /Volumes/MyVolume
-
Für Monterey : sudo /Applications/Install\ macOS\ Monterey.app/Contents/Resources/createinstallmedia --volume /Volumes/MyVolume
-
Für Ventura : sudo /Applications/Install\ macOS\ Ventura.app/Contents/Resources/createinstallmedia --volume /Volumes/MyVolume
-
-
-
Nachdem der Pfad geändert wurde, drücke die Eingabetaste.
-
Gib das Passwort deines Mac ein.
-
Drücke nach Eingabe des Passworts wieder die Eingabetaste.
-
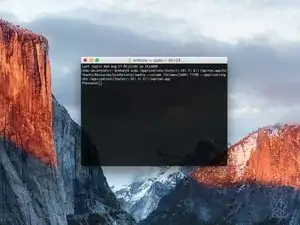
Prüfe nochmal den Pfad zu deinem USB-Laufwerk, wenn er korrekt ist, dann kannst du mit "y" bestätigen und die Eingabetaste drücken.
-
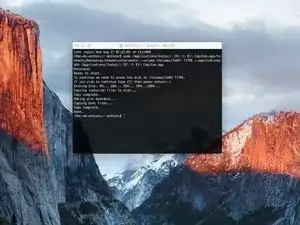
Nun beginnt der Kopierprozess auf das USB-Laufwerk, warte bis er bendet ist.
-
-
-
Das Terminal zeigt "Done" an, damit ist das USB-Bootlaufwerk fertig.
-
In Zukunft kannst du von deinem USB-Laufwerk aus starten, indem du während des Neustarts deines Macs die "alt" Taste gedrückt hältst.
-
-
-
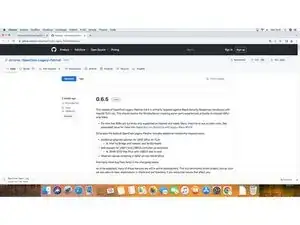
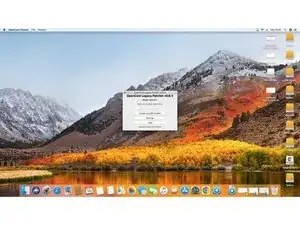
Unter diesem Link findest du die letzte Version des OpenCore Legacy Patcher. Als diese Anleitung erstellt wurde war es 0.6.5.
-
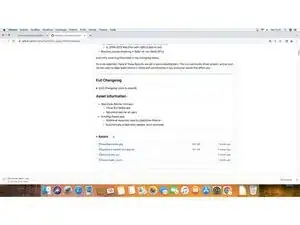
Rolle auf der Seite nach unten, bis du die Assets der letzten Version findest . Öffne das Verzeichnis und lade OpenCore-Patcher-GUI.app.zip herunter.
-
Extrahier nach dem Download die Zip-Datei der OpenCore-Patcher App und öffne sie.
-
-
-
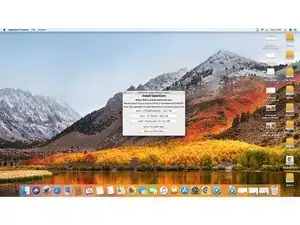
Wenn du den MacOS-Installer der gewünschten Version bisher noch nicht herunterladen hast, kannst du das jetzt mit Hilfe von OpenCore tun.
-
Wähle Create macOS Installer, um den USB Installer in der gewünschten Version herunterzuladen und zu erzeugen.
-
-
-
Wenn du die OpenCore-Patcher App öffnest, erkennt sie automatisch dein Mac-Modell und gibt dies auf dem Hauptfenster unter der Versionsnummer des Patchers aus.
-
Schaue unter diesem Link nach, ob dein Modell unterstützt wird und alles funktioniert.
-
-
-
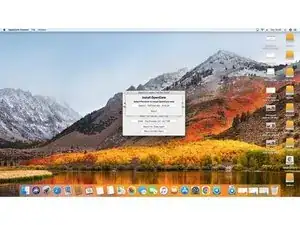
Nachdem OpenCore konfiguriert wurde, wähle Install to Disk und Gib dann das eben angeschlossene USB-Laufwerk als Ziel an.
-
Du musst dann das Passwort deines Mac eingeben, bevor es weitergeht.
-
-
-
Wenn OpenCore fertig installiert ist, wirst du zum neu booten aufgefordert.
-
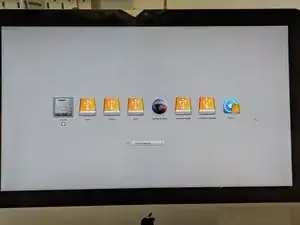
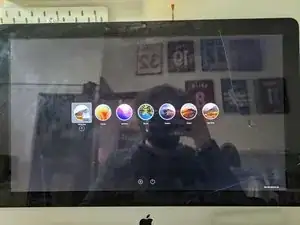
Drücke während des Bootvorgangs die Wahltaste, um das Laufwerk auszuwählen.
-
-
-
Wähle in der Auswahl für das Boot-Laufwerk EFI Boot aus (das war das letzte von dir erzeugte USB-Laufwerk).
-
Wähle den MacOS Ventura Installer und folge den üblichen MacOS Installationsprozeduren.
-
-
-
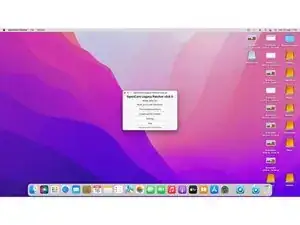
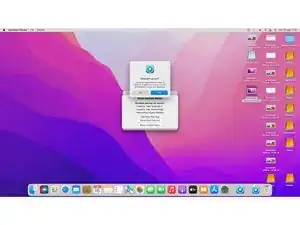
Nachdem MacOS installiert ist, öffne den OpenCore Patcher nochmal und wähle Post Install Root Patch.
-
Wähle Start Root Patching.
-
-
-
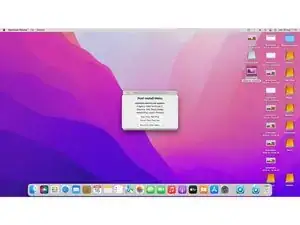
OpenCore fragt dich, ob du als root weitermachen willst, antwort mit yes.
-
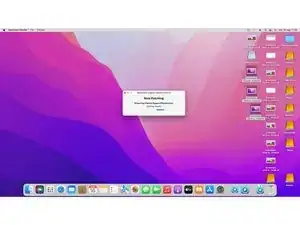
OpenCore patcht dann deine MacOS Installation, um sie kompatibel zu deinem Mac zu machen.
-
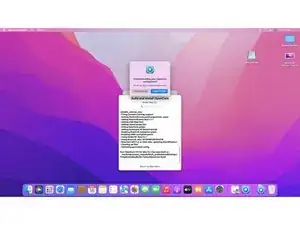
Nach diesem Vorgang wirst du gefragt, ob du neu booten und die Patches installieren willst.
-
Halte während des Bootvorgangs die [Wahl] (bzw Options-) Taste gedrückt, um wieder zur Auswahl des Boot-Laufwerks zu gelangen. Wähle wieder EFI Boot aus und dein Mac sollte normal starten.
-
-
-
Trenne nun alle USB-Laufwerke ab.
-
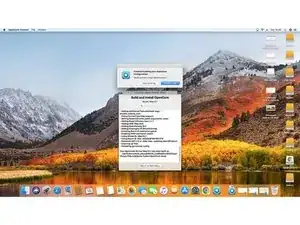
Wenn dein Mac in MacOS gebootet hat, öffn ein letztes Mal OpenCore und wähle Build and Install OpenCore.
-
Nachdem der Build von OpenCore durchgeführt wurde, wähle Install to disk.
-
-
-
Wähle diesmal disk0 um OpenCore auf das Internet Laufwerk deines Mac zu installieren, wähle dann die EFI Partition.
-
Um die Installation von OpenCore abzuschließen, wirst du aufgefordert deinen Mac neu zu booten. Halte auch hierbei wieder die [Wahl] (bzw Options-) Taste gedrückt, um letztmals die Auswahl des Boot-Laufwerks zu treffen.
-
Nach der Auswahl des Boot-Laufwerks halte nochmals die [Wahl] (bzw Options-) Taste gedrückt und wähle das EFI-Laufwerk, damit diese die Standardauswahl wird.
-
Geschafft! Du hast Ventura erfolgreich auf deinem Mac installiert!
-


...Und fertig! Du hast nun macOS Ventura auf deinem Mac installliert.
Ein Kommentar
I've been running this on an old Mac Mini Late 2012 semi-successfully. However it seems some menus get blurry and some apps none of the art elements will load. Guessing it's things that try to call on Metal. Anyone seen or aware of a fix for these bugs?
I have previously downloaded this file, but it does not show up on my purchased list. Also tried Apple Support downloads, but they only have “Update” versions to download.
Peter Simons -
If, you’re on macOS Majove, it’s impossible to download previous versions of Mac systems. Excepted, macOS High Sierra but, I don’t know for how long.
Anthony Fassler -
If you have issues logging into the (App Store -> purchased) due to 2FA, get the code sent to your device and append it to your Apple ID password to log in
Joe Verba -
You can download older versions of the OSX. Here are the download-links (unfortunately an article in german, but you can find the download-links below):
https://www.macwelt.de/a/high-sierra-sie...
Gerrit -
If you already have Mojave and just want to download the installer, you might not able to until you disable auto update.
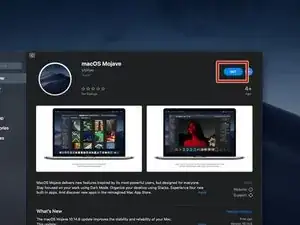
Just head to the Mojave page:
https://apps.apple.com/ph/app/macos-moja...
Then click the download button.
Software Update will come up, click Advanced and uncheck the auto update.
You will be able to download now.
Edmar Herrero -
Does not work anymore :-(
wanda_name -
Hélas , en effet : j’ai été prise de vitesse car je pensais devoir acheter un MAC neuf , et quand j’ai vu les performances à prix égal à celui payé en 2013 , j’ai dit NON !
Comment continuer de me servir de mon MAC BBOK PRO ?
Votre site répond à toutes nos question , même l’assistance en ligne de APPLE est incompétente !
Merci
GULLY -
I’m trying to make a bootable usb for El Capitan for a SSD - my current working mac is High Sierra - is this doable? I keep getting errors because El Capitan is too old to run on my working mac.
Claire -
Hi Claire did you get any response about this enquiry?
Gabriel Davila -
https://support.apple.com/fr-fr/HT201260
tidrol_69 -
Saw this was updated this month, but How're you supposed to grab High Sierra or any of the others when the Apple servers don't actually have it? I download and it says it's not available on the server and if I search for it myself it doesn't even come up at all.
Geoffrey Locke -
At the following link you can download high by the Mac App Store.
https://support.apple.com/fr-fr/HT211683
Anthony Fassler -